How to Clean Heater Radiator: The Professional Guide for Peak Efficiency
Have you ever noticed a peculiar, singed scent when your heating system kicks in for the first time in autumn? Or perhaps you’ve observed that despite your thermostat being cranked up, the room remains stubbornly chilly? These are the hallmark signs of a neglected heating system. Learning how to clean heater radiator components is not merely a chore; it is a pivotal maintenance task that ensures your home stays warm, your air stays breathable, and your energy bills remain manageable.
- Thermal Efficiency: Removing dust ensures optimal heat convection and lower energy consumption.
- Air Quality: A clean radiator prevents the circulation of allergens and dust mites throughout your living space.
- Longevity: Regular cleaning prevents corrosion and internal buildup that can lead to system failure.
- Safety First: For electrical workers and DIY enthusiasts alike, powering down is the non-negotiable first step.
Understanding Why You Need to Know How to Clean Heater Radiator Units
Dust is the silent enemy of thermal dynamics. Over time, the convection currents created by your radiator act like a magnet for lint, pet hair, and household debris. As these particles settle between the fins and behind the panels, they form an insulating layer. This layer forces the boiler or heating element to work harder to achieve the same ambient temperature. Consequently, mastering how to clean heater radiator setups is an essential skill for any homeowner or maintenance professional looking to preserve system integrity.
Read More: Is Electric Bill Higher in Winter Or Summer? Uncover the Truth
![[A high-resolution, close-up shot of a modern white panel radiator with visible dust accumulation between the metal fins, shot in soft natural daylight to highlight texture]](https://powerelectra.com/wp-content/uploads/2026/05/ai-image-placeholder-1-1778316328088.webp)
Furthermore, from the perspective of an electrical worker, a dust-clogged radiator can pose a significant fire hazard, particularly in electric convection heaters. Dust is combustible. When it accumulates on heating elements or restricted airflow paths, the risk of overheating increases exponentially. By maintaining a pristine unit, you are not just saving money; you are ensuring the safety of the entire household.
Essential Tools for Cleaning Your Heater Radiator
Before you dive into the process, having the right arsenal of tools is paramount. You don’t need industrial machinery, but specialized equipment makes the job significantly more effective. Below is a breakdown of the essentials you should gather.
| Tool | Purpose | Importance |
|---|---|---|
| Vacuum Cleaner | Removes loose debris from the exterior and floor. | Essential |
| Radiator Brush | Long, flexible bristles to reach between narrow fins. | Critical |
| Hairdryer | Blows out trapped dust from hard-to-reach crevices. | Recommended |
| Microfiber Cloth | Wipes down the surface without scratching the paint. | High |
| Buckets & Soap | Warm soapy water for deep cleaning the exterior panels. | High |
![[A professional flat-lay photograph of cleaning supplies including a long-handled radiator brush, a Dyson vacuum attachment, a microfiber cloth, and a spray bottle on a wooden floor]](https://powerelectra.com/wp-content/uploads/2026/05/ai-image-placeholder-2-1778316328088.webp)
Step-by-Step Guide: How to Clean Heater Radiator Safely
Executing a deep clean requires a systematic approach. Follow these steps to ensure you leave no corner untouched while maintaining the highest safety standards.
1. Power Down and Cool Off
Whether you are dealing with a hydronic system or an electric heater, the first step in how to clean heater radiator units is to turn off the heat source. For electrical workers, ensure the unit is unplugged or the circuit breaker is flipped. Wait at least 30 to 60 minutes for the unit to cool completely. Cleaning a hot radiator is not only dangerous but can cause cleaning fluids to evaporate too quickly, leaving unsightly streaks.
2. The Vacuum and Blow Technique
Start by vacuuming the floor around and underneath the radiator. Use the crevice tool to get as much visible dust as possible. Now, for the secret weapon: the hairdryer. Position the hairdryer on its highest cool setting at the top of the radiator and blow downward. This will force trapped dust out through the bottom, where you can easily vacuum it up. It is a simple yet transformative hack.
![[A person using a hairdryer to blow dust out from the top of a radiator while a vacuum cleaner nozzle waits at the bottom to catch the debris]](https://powerelectra.com/wp-content/uploads/2026/05/ai-image-placeholder-3-1778316328088.webp)
3. The Deep Dive with a Radiator Brush
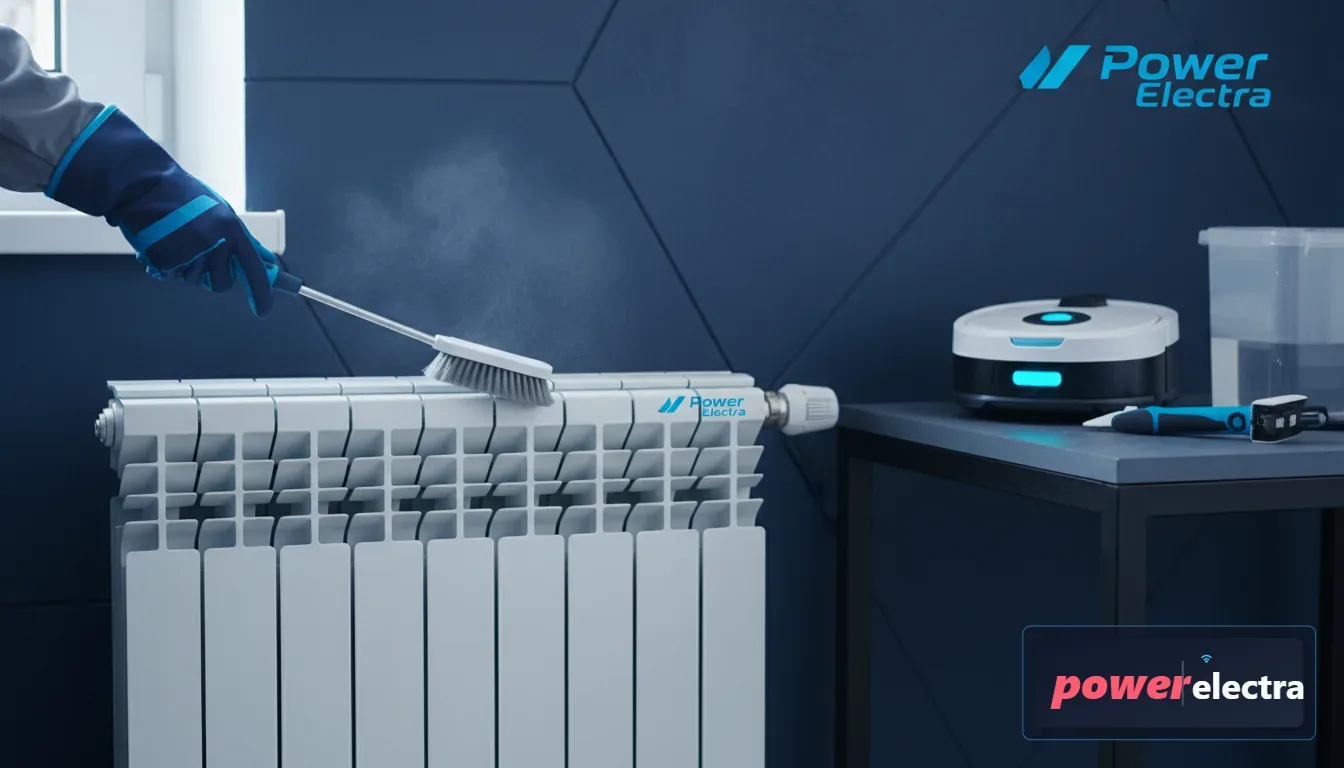
Once the loose dust is cleared, it is time for the radiator brush. These specialized brushes are thin and flexible, designed to navigate the serpentine paths of the internal fins. Push the brush from the top down to the bottom, repeating for every single fin. This mechanical agitation is the only way to remove the stubborn ‘clinging’ dust that air alone cannot move.
4. Wiping Down the Exterior
Mix a solution of warm water and a mild detergent. Dampen your microfiber cloth—never soak it—and wipe down the entire exterior surface. Pay close attention to the valves and pipes. For electrical convection heaters, ensure no moisture enters the control panel or internal wiring sections. Use a dry towel immediately afterward to prevent any potential rust or water spots.
Professional Tips for Electrical Workers
In light of your professional background, you likely know that maintenance goes beyond the surface. If you are cleaning an electric radiator, take this opportunity to inspect the wiring for any signs of fraying or heat damage. Check the thermostat accuracy and ensure all wall mounts are secure. A radiator that is vibrating or making clicking noises may need more than just a cleaning; it may require a component check.
Frequently Asked Questions
How often should I clean my radiator?
Ideally, you should perform a light cleaning once a month during the winter and a deep clean at least once a year, preferably before the heating season begins.
Do I need to remove the top grille?
Yes, if your radiator has a removable top grille or side panels, taking them off will allow much better access to the internal fins for a thorough clean.
Can I use abrasive cleaners?
Absolutely not. Abrasive sponges or harsh chemicals can strip the protective powder coating from the radiator, leading to corrosion and rust.
What if my radiator is electric?
The process is similar, but you must be extremely careful with water. Stick to dry methods like vacuuming and compressed air for the internals, and only use a slightly damp cloth for the external casing after ensuring it is unplugged.
Why does my radiator still smell after cleaning?
If the smell persists, there may be dust deep within the unit or on a heating element that you missed. Re-run the hairdryer and brush process, or check for any fallen debris behind the unit.
Read More: Which is Not an Insulator? Key Facts You Need to Know
Conclusion: A Brighter, Warmer Home
In summary, knowing how to clean heater radiator units is a fundamental aspect of home maintenance that yields immediate results. By following this guide, you ensure that your heating system operates at peak performance, providing a healthier environment and more efficient heat distribution. Don’t wait for the dead of winter to find out your radiators are underperforming. Take action today: Grab your tools, follow these steps, and enjoy the pristine warmth of a well-maintained home. Your wallet—and your lungs—will thank you.
Leave a Reply